Detailed Step-by-Step Production Process
Production Process Steps
1. Seed Sourcing/Procurement
- Ask around for reliable seed sourcing entities, typically from Hawaii.
- Pre-order desired ginger cultivars and amount of seed ginger, typically end of October and/or the beginning of November.
- Receive the order in mid or late February.
2. Sprouting
- Once the seed ginger is received, inspect it for any defect or disease.
- Cut seed ginger into pieces (25–40g apiece), making sure that each piece contains at least two or more growing points.
- Cure the cut seed ginger pieces for two days in a cool, dry environment.
- Pre-soak coconut coir.
- Cover the bottom of the seed flats with a thin layer of coconut coir.
- Place cured seed ginger pieces on top of coconut coir in the seed flats.
- Cover thoroughly seed ginger pieces with more coconut coir in the seed flats.
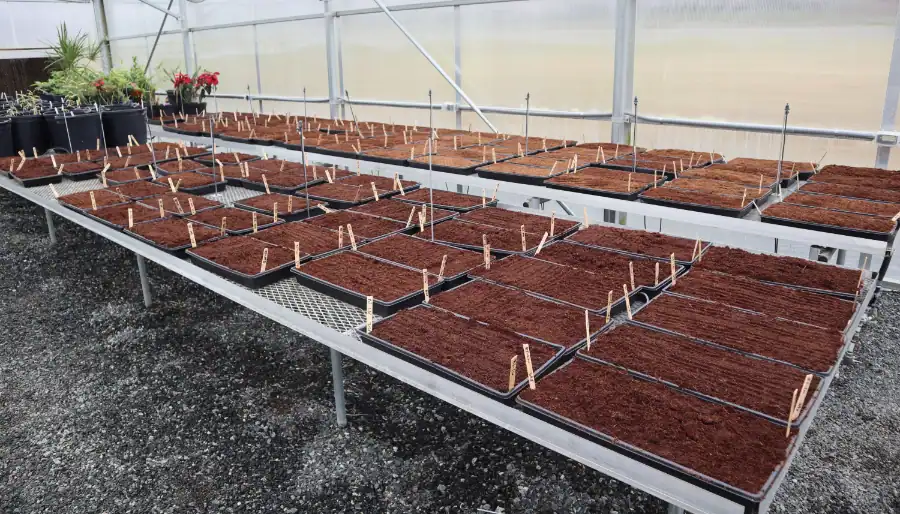
- Place the seed flats containing seed ginger pieces on a bench in a greenhouse. If necessary, heating pads may be used for expediting sprouting process.
- Thoroughly water the seed flats and then constantly maintain the seed flats moist throughout the sprouting process.
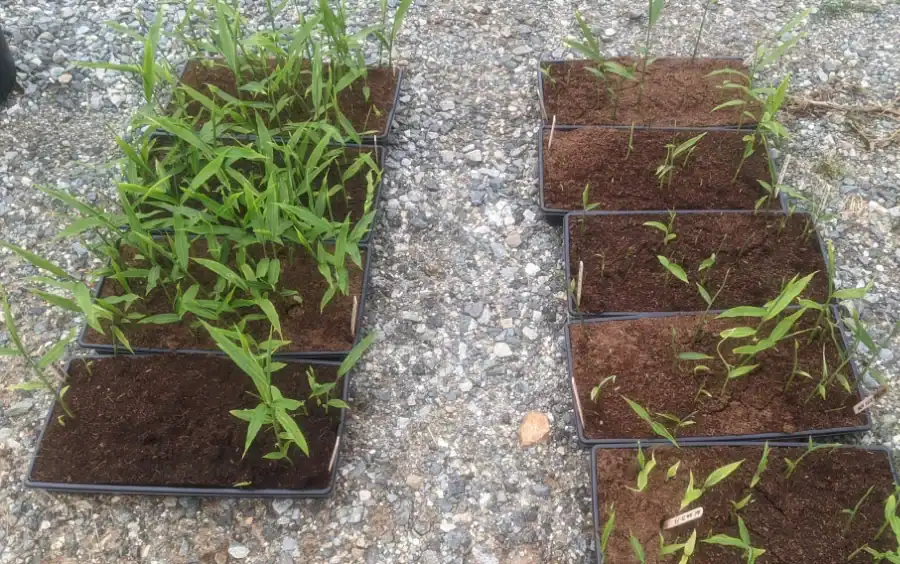
- Observe for emergence of ginger sprouts.
Seed ginger sprouting process
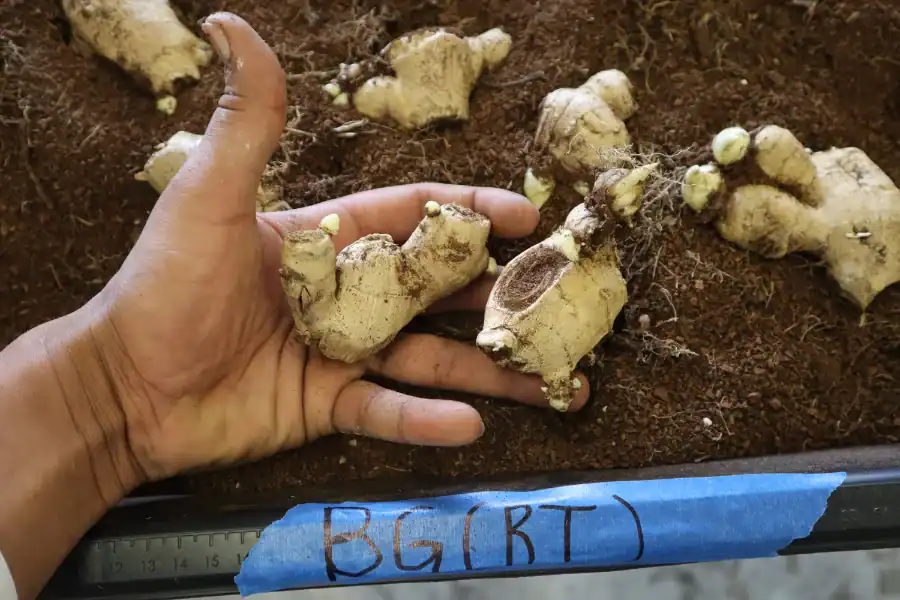
Grower separates a cluster of ginger into smaller pieces, each with one or two sprouting buds.
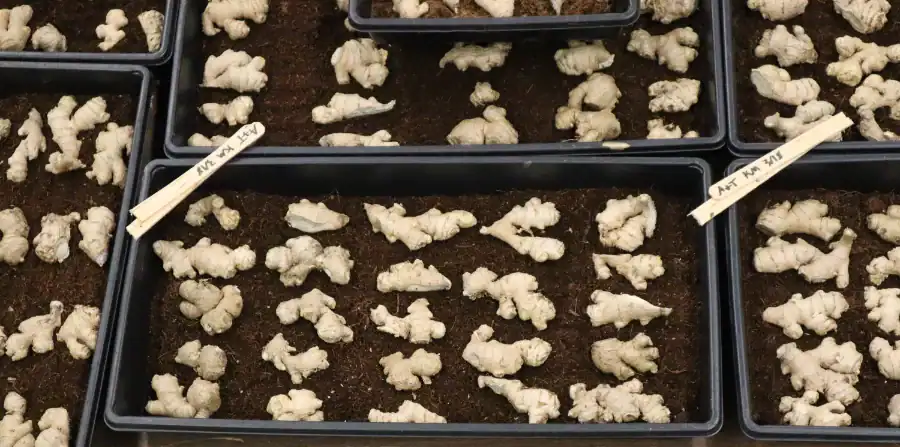
Ginger pieces with growing points are laid out on coconut core.
Pieces are completely covered in coconut core and watered.
After four weeks, sprouts begin to grow.
3. Seedling Progression, Maturation, and Maintenance (Watering)
Once ginger seedlings grow to about one foot tall, they are ready for transplanting for ginger production.
4. Land or Greenhouse Space Preparation
- High tunnel or open field: Early in the season (February), till the soil inside a high tunnel or the field (perhaps with a tractor or tiller) until the soil is loose and delicate enough to make raised beds or is good for transplanting. If using raised beds for ginger production, a tractor-operated Nolts bed layer may be used to make raised beds and lay drip tape. Based on the soil test results from the North Carolina Department of Agriculture and Consumer Services or another entity, add the recommended nutrients to the soil. The drip tape may be placed 1-2 inches beneath the soil surface with a 12-inch emitter spacing for irrigation.
- Greenhouse: Make sure to have enough bench space, then source and purchase grow bags and/or pots, potting substrates, mixing pans, and other routine greenhouse production supplies.
5. Transplanting
High tunnel or open field:
Make trench or holes about 3-4 inches deep.
- Place the ginger seedlings in the trench or hole with a spacing of 6-12 inches.
- Bury the base of ginger seedlings in soil and press the soil, making sure the ginger seedling roots make good contact with the soil.
- Turn on irrigation and thoroughly water the newly transplanted ginger seedlings. Thorough watering of ginger seedlings is the key to minimizing transplanting shock.
Greenhouse (grow bags or pots):
- Mix enough potting substrates. Recommendation: 2 parts Metro-Mix to 1 part compost
- Fill grow bags/pots with potting substrate. Recommendation: 3-5 gallon size pots, or 10-12"W x 9.5"H grow bags. Grow bag/pot size is based on availability. However, small-sized bags and pots can cause malformity in rhizome and potentially break the container while harvesting.
- Place one ginger seedling per grow bag/pot and bury the base of ginger seedling with potting substrate by gently pressing the potting substrate to ensure good contact with the seedlings.
- Turn on irrigation and thoroughly water the newly transplanted ginger seedlings. Thorough watering of ginger seedlings is the key to minimizing transplant shock.
6. Care and Maintenance
- Weeding
- Fertilization/fertigation (see Agronomic Requirements, above)
- Hilling: During the later stage of the growing season, ginger rhizomes may grow out of the soil. Whenever this occurs, bury the rhizomes under more of the same type of soil.
- Watering, using hand watering or drip irrigation (see Agronomic Requirements, above)
7. Harvesting
Typically, ginger rhizomes are harvested manually. A broad fork should be used to loosen the soil around the rhizome and dig ginger rhizomes from the ground. Careful digging should be performed diligently by leaving enough space between the broad fork and ginger rhizomes underground to avoid damage to the rhizome while scooping beneath it to raise it to the surface. The foliage should be initially used as leverage to remove rhizomes from the soil. Then ginger rhizomes should be rinsed with water to remove remaining soil. At this point, ginger rhizomes are ready for further processing (drying excess water, curing, observation, weighing, and going to market).
Ginger harvesting in a high tunnel
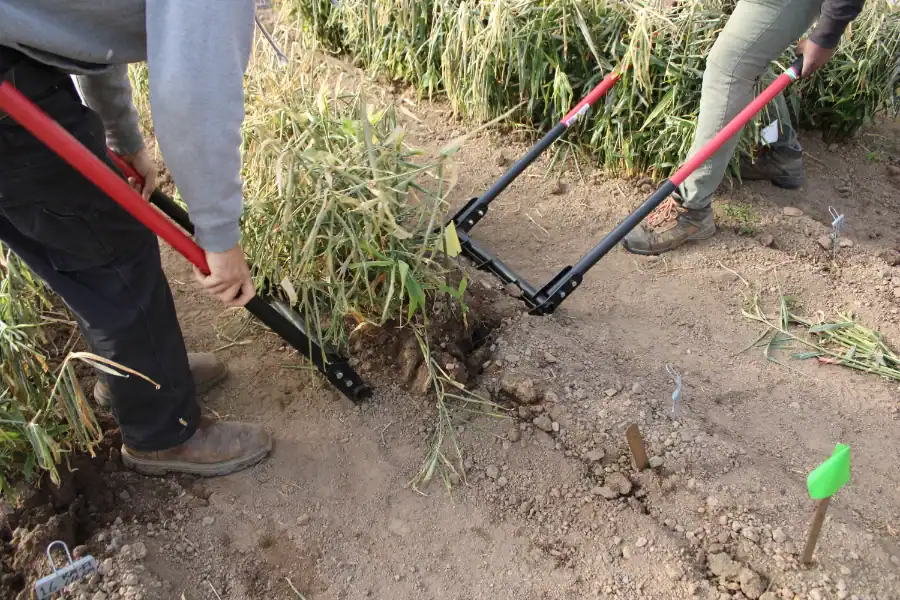
A ginger plant is harvested with a broadfork.
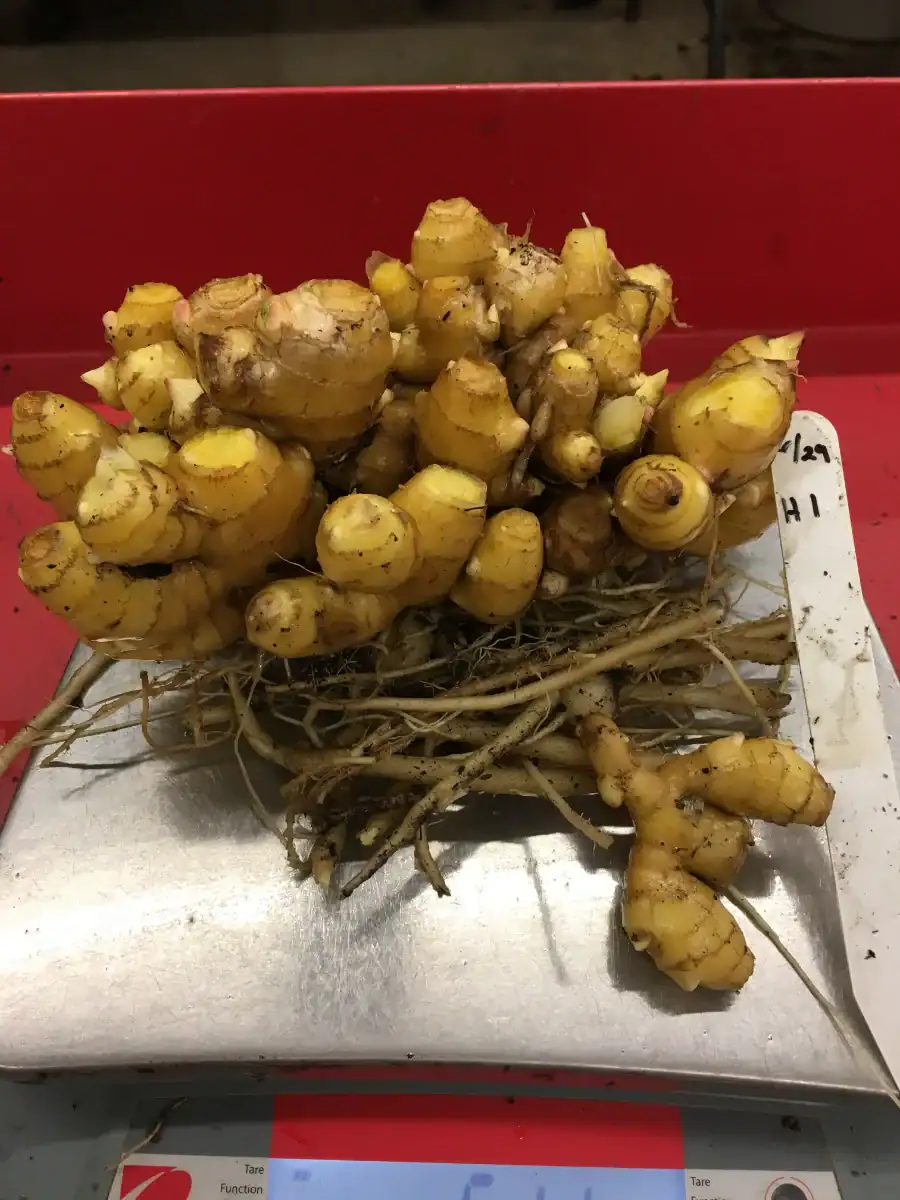
Harvested ginger shows the rhizome with biological roots.
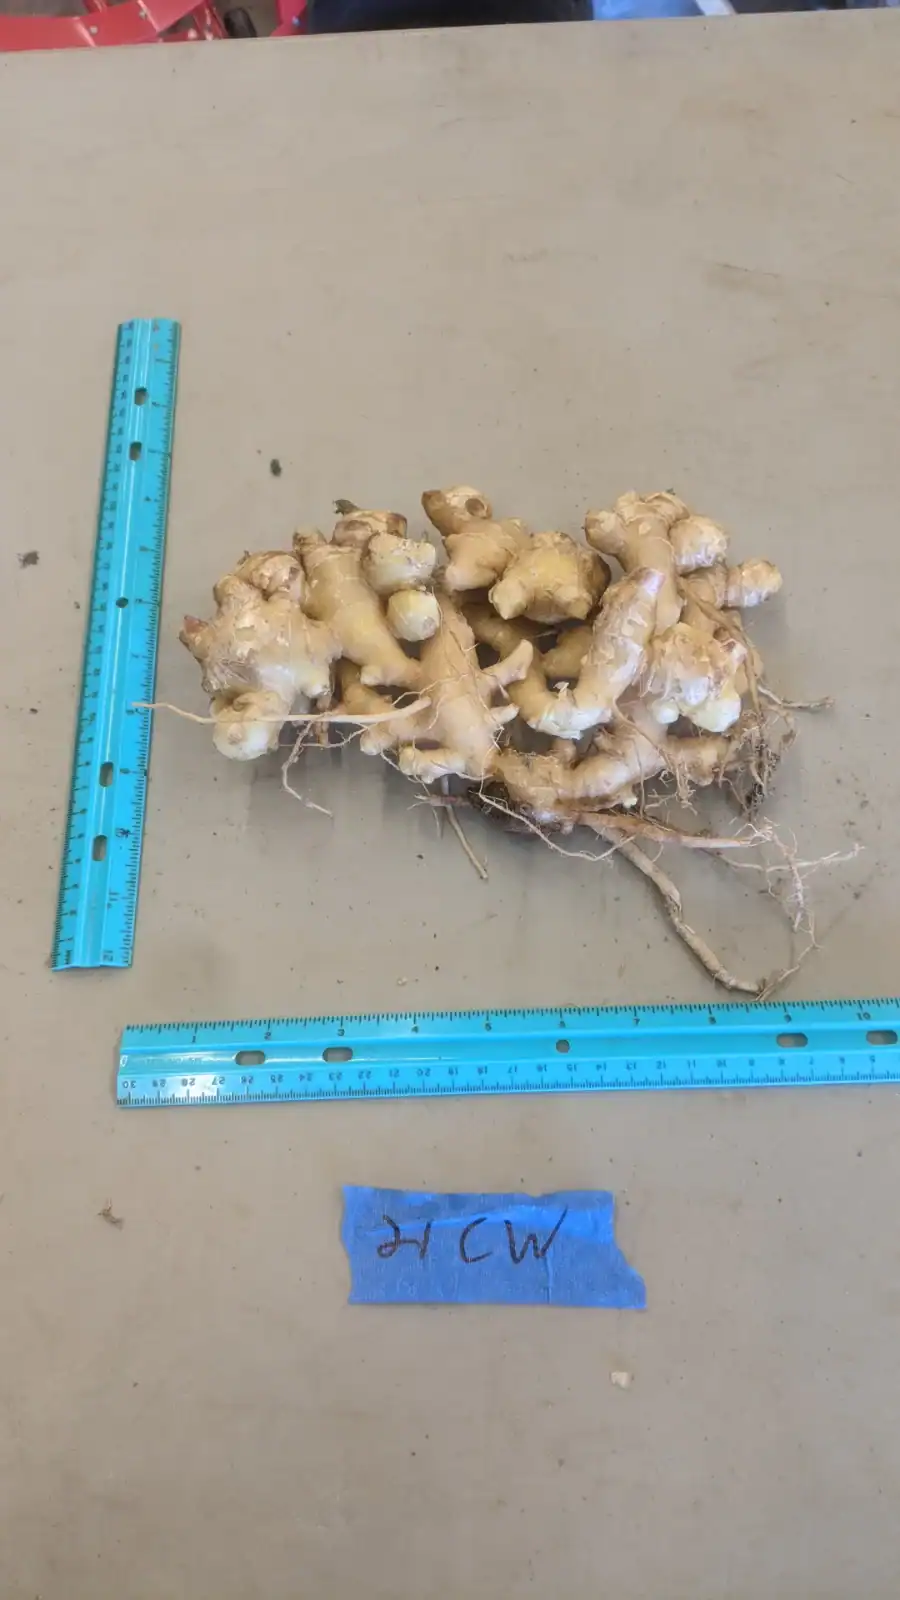
A cleaned, dried and cured ginger cluster, about 2 lbs. of ginger from one plant.
8. Curing
After harvesting, ginger rhizomes must be thoroughly rinsed with clean water. After getting rid of excess water, place the washed ginger rhizomes in containers and allow about two days for air drying and curing in a cool and dry environment.
9. Market and/or Storage (Figure 10)
Ginger rhizomes can be stored over winter in cool, dry conditions. Cured and healthy ginger rhizomes should be layered in a container filled with lightly moist coconut coir. Containers may be covered with row covers and/or buried in a large tub filled with lightly moist coconut coir and should be stored in a cool and dry environment with temperature around 45-65°F. All disease infected and/or unhealthy ginger rhizomes should be eliminated.
Steps to over-winter seed ginger
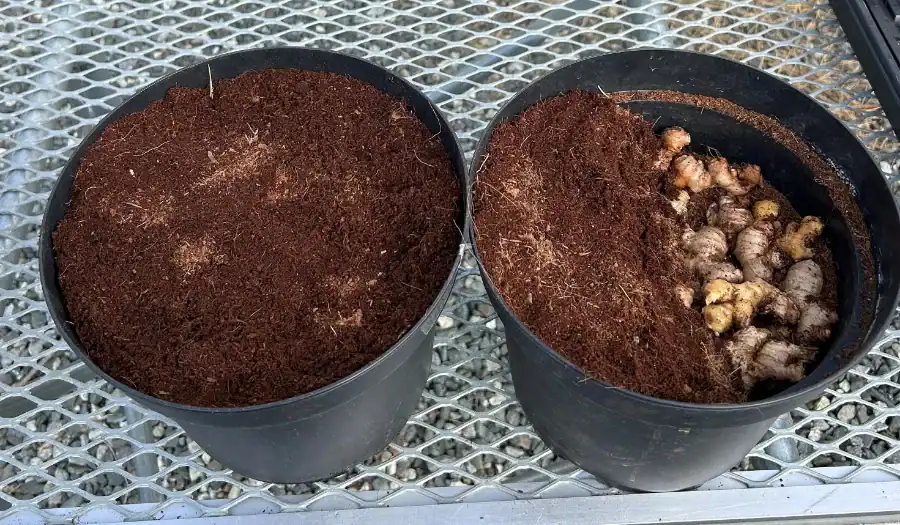
Ginger pieces layered in coconut coir in alternating layers to the top of the pot,
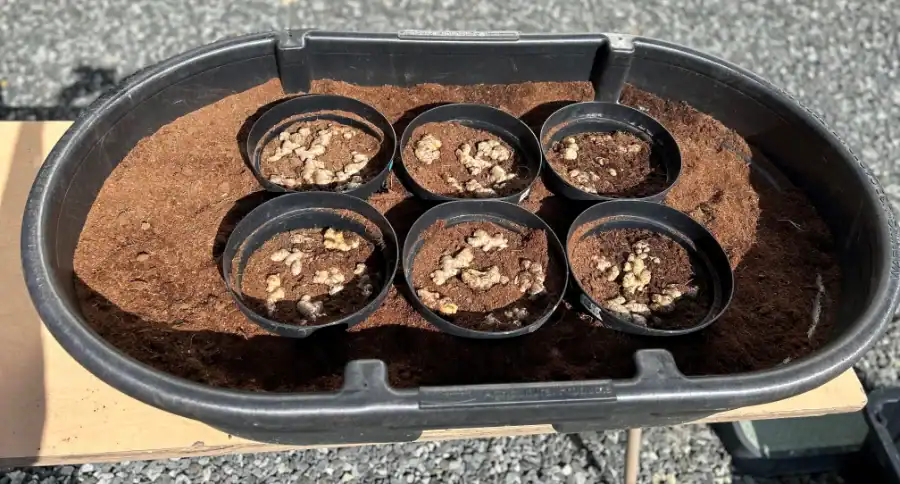
Several filled pots are placed into a larger container, a 50-gallon tub,
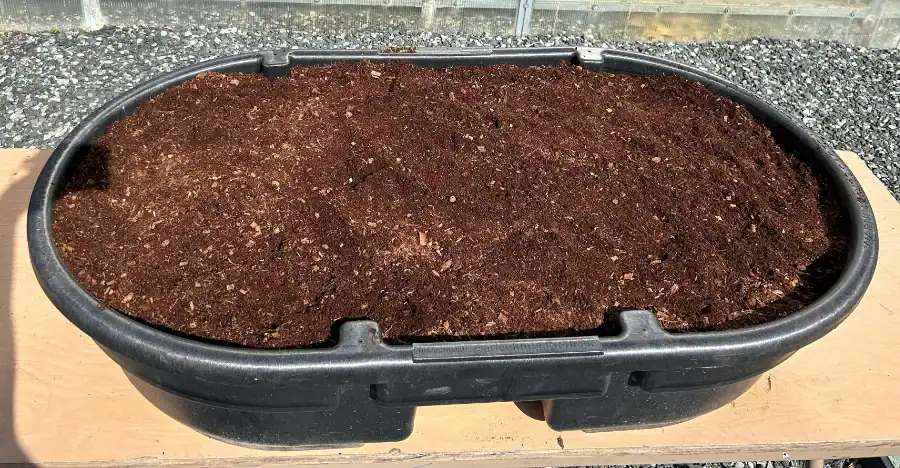
Coconut coir is placed on top to insulate the plants and keep them from drying out in storage over the winter.